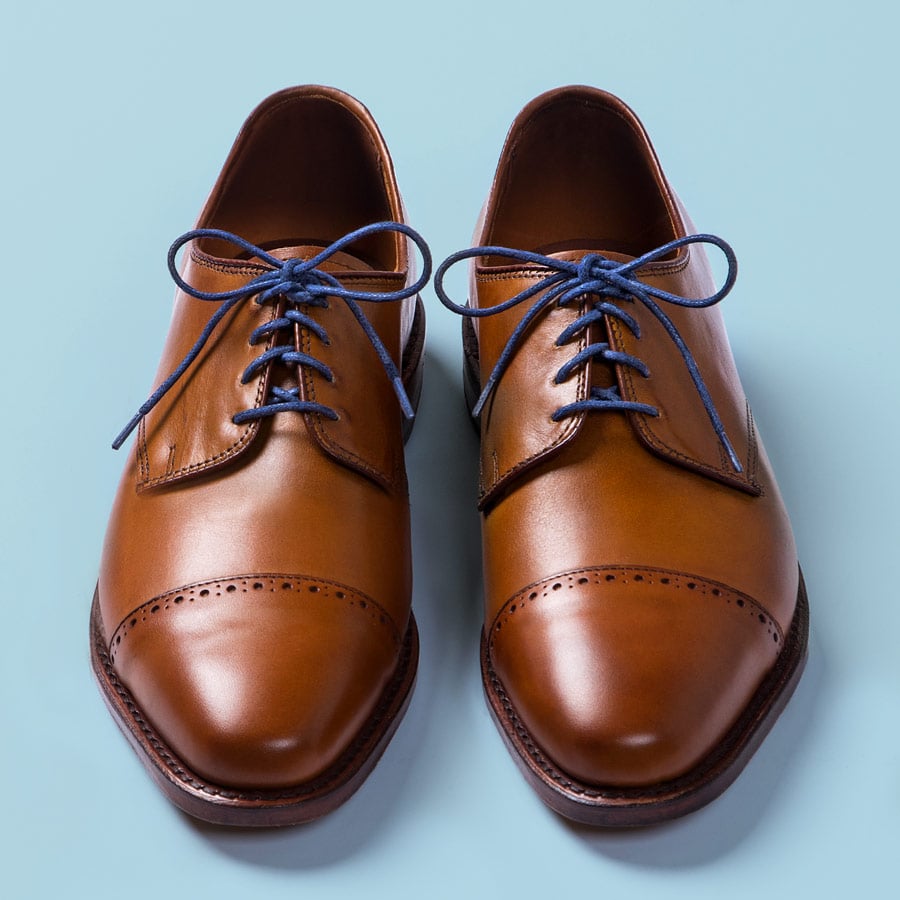
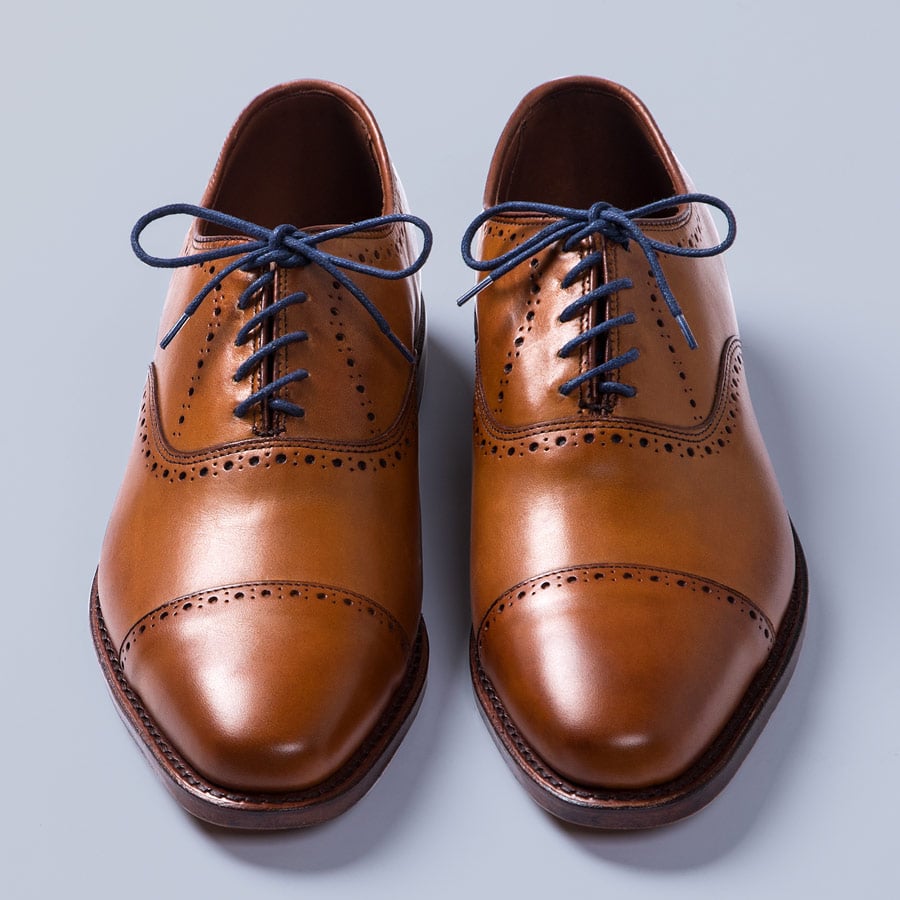
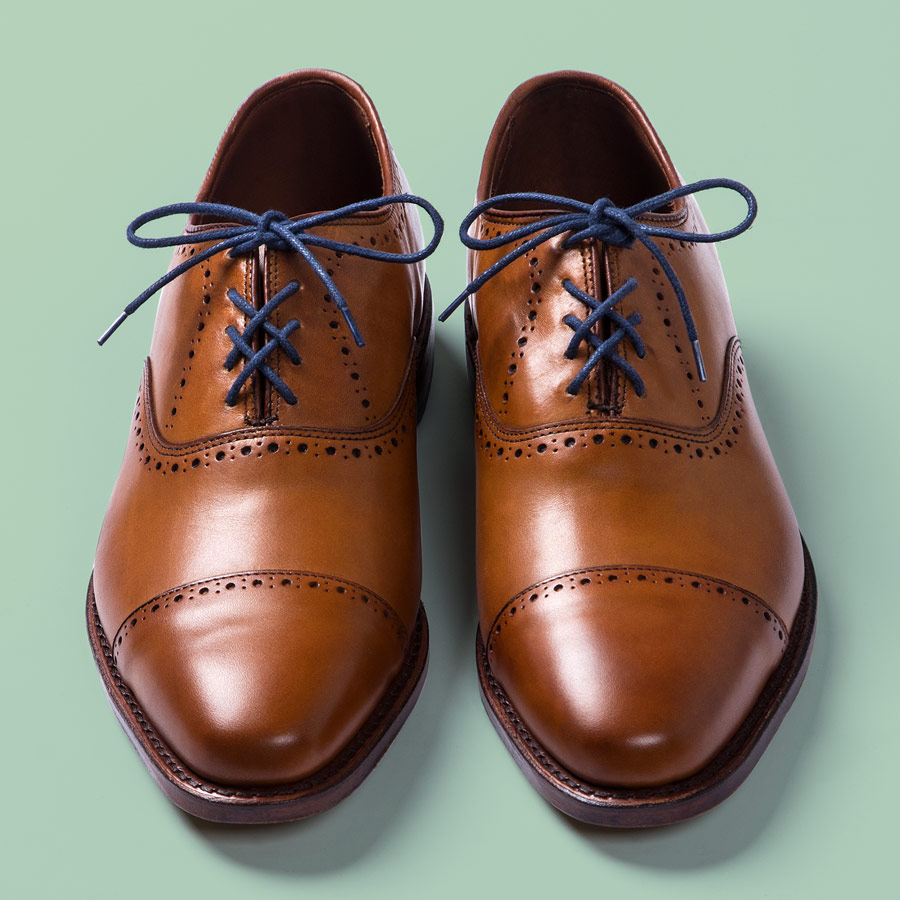
Close
GET 20% OFF
USE CODE: OFFICEDRIP20
When You Spend $65+ Learn More
More Ways to Lace

Over Under Lacing

A Step-by-Step Shoe Lacing Tutorial

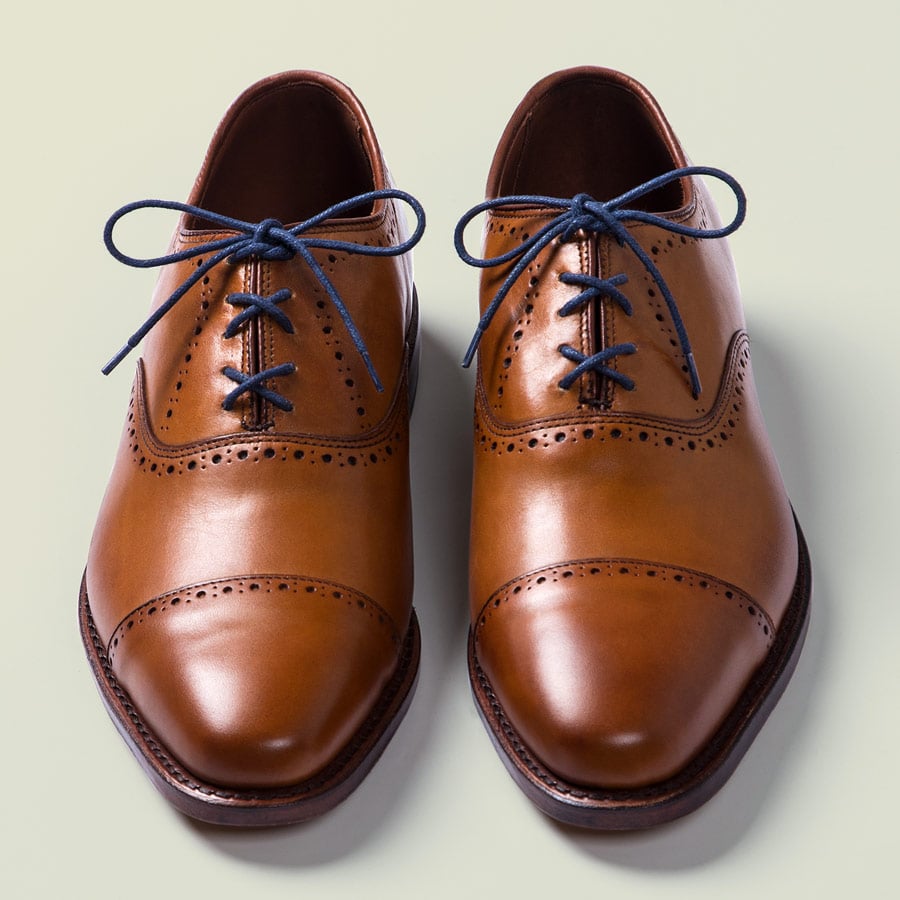
About the Over Under Method

One of our favorite shoe lacing styles is the Over-Under. It results in a column of symmetrical X’s grounded by a straight bar. This style looks best on shoes that have closed lacing — meaning the quarters of the shoes meet in the middle. This style is solid and easier to tighten. Note: If you have an odd number of eyelet pairs, begin by lacing the shoelace under the facing of the shoe. You’ll begin at Step 3 to create an X-shape as your first step.
DIFFICULTY 3/5
Step 1 Step 2 Step 3

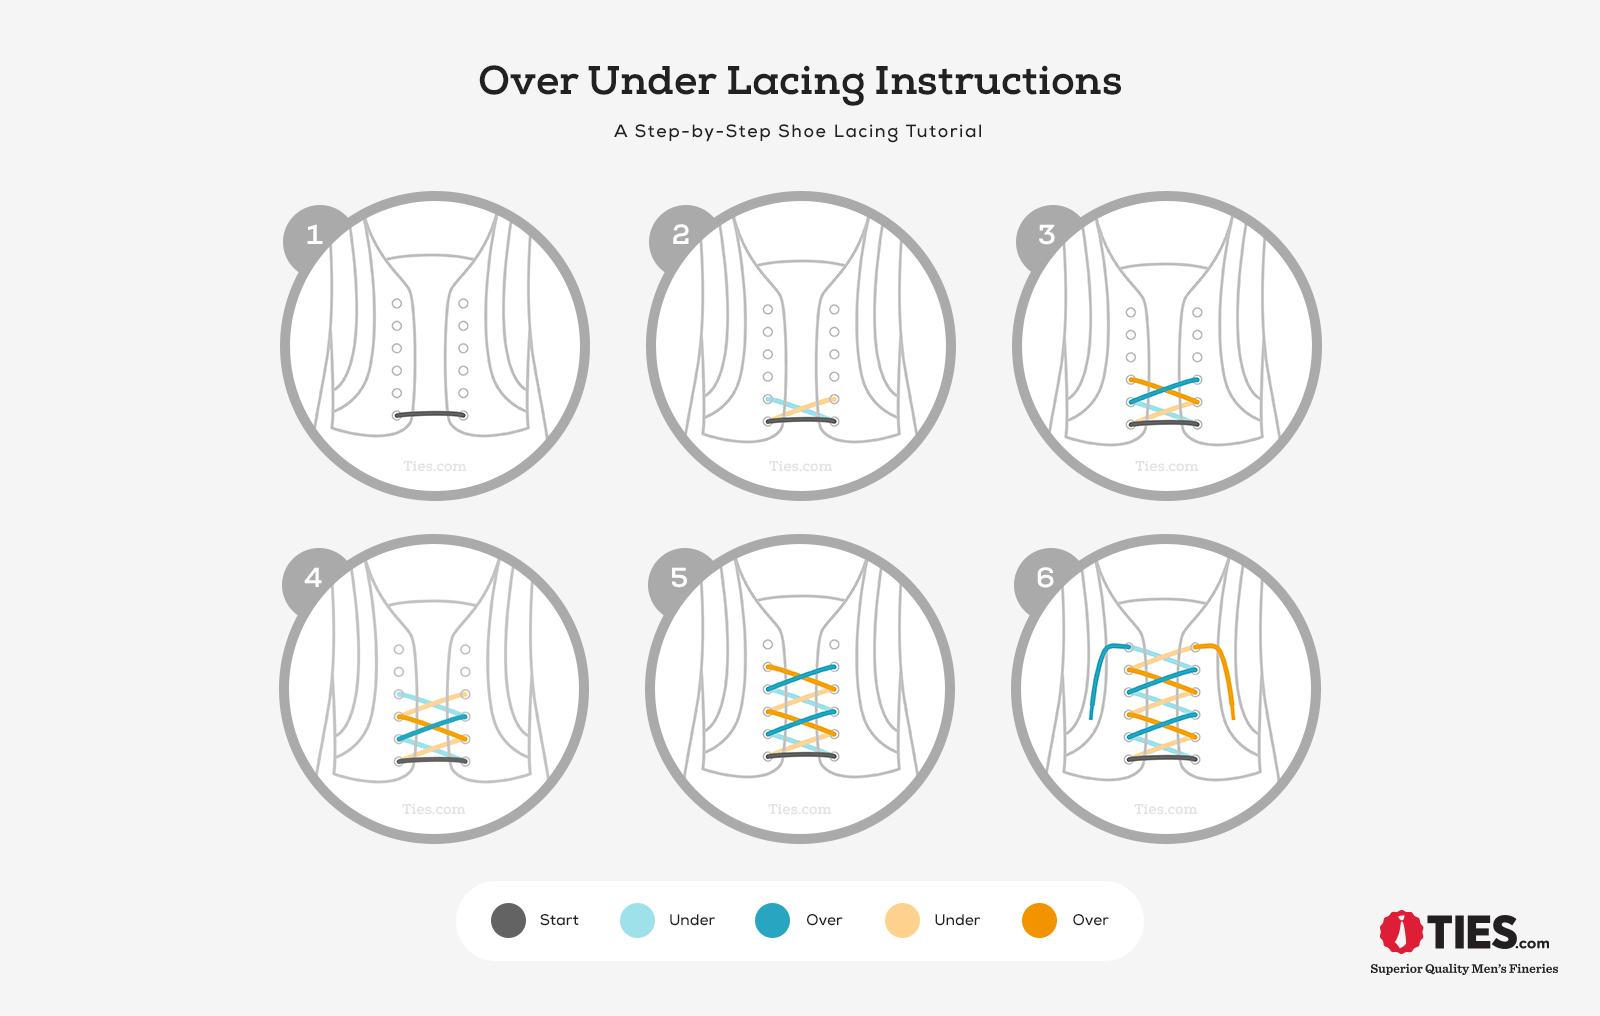
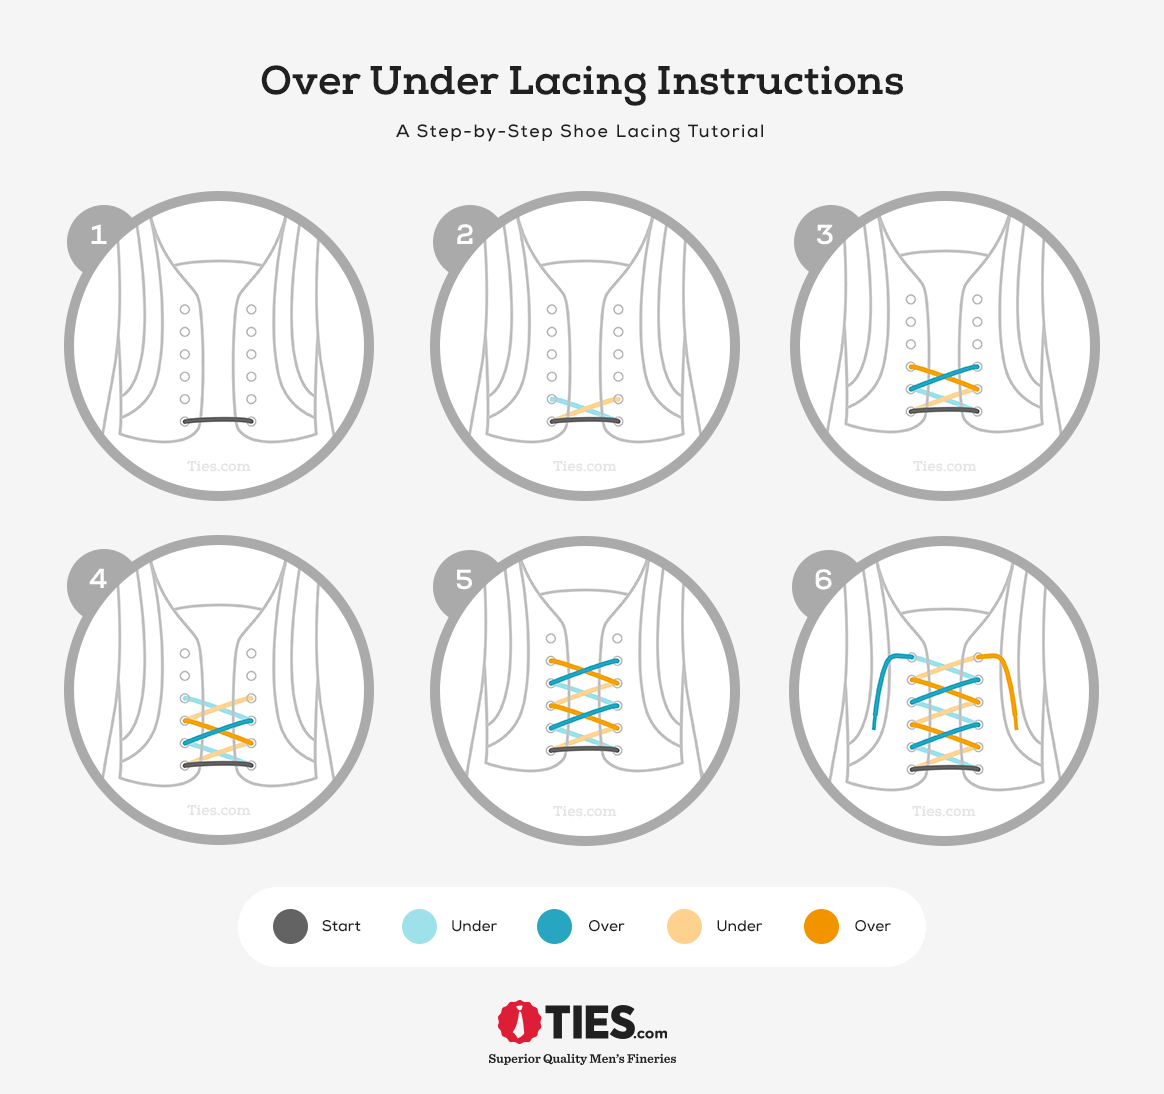
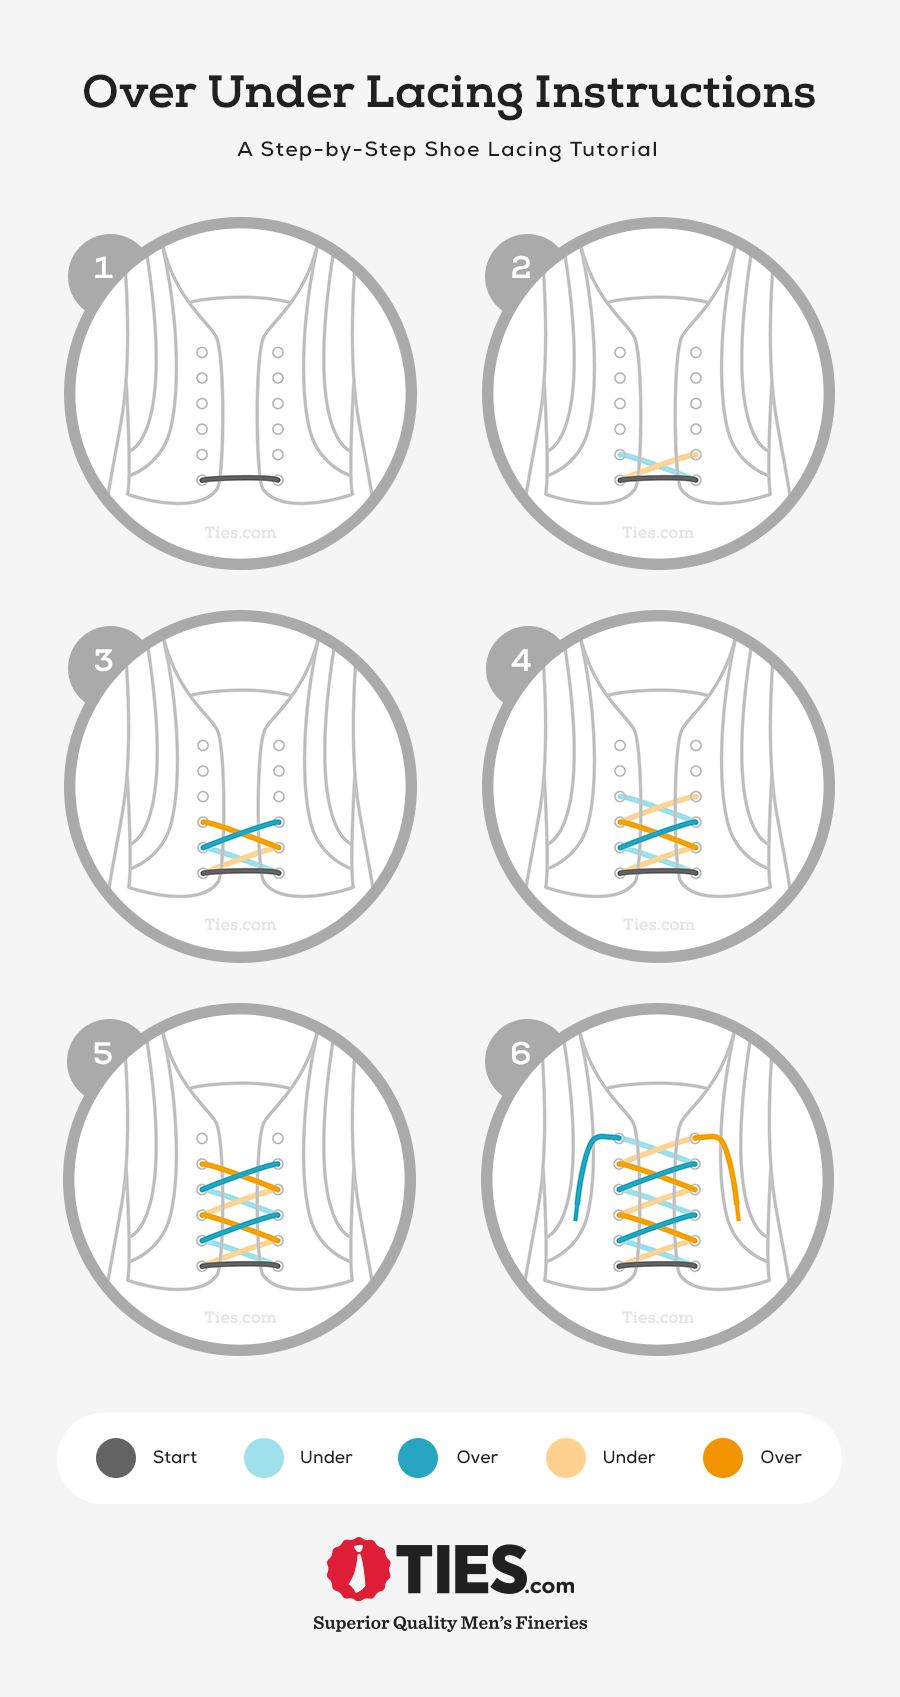
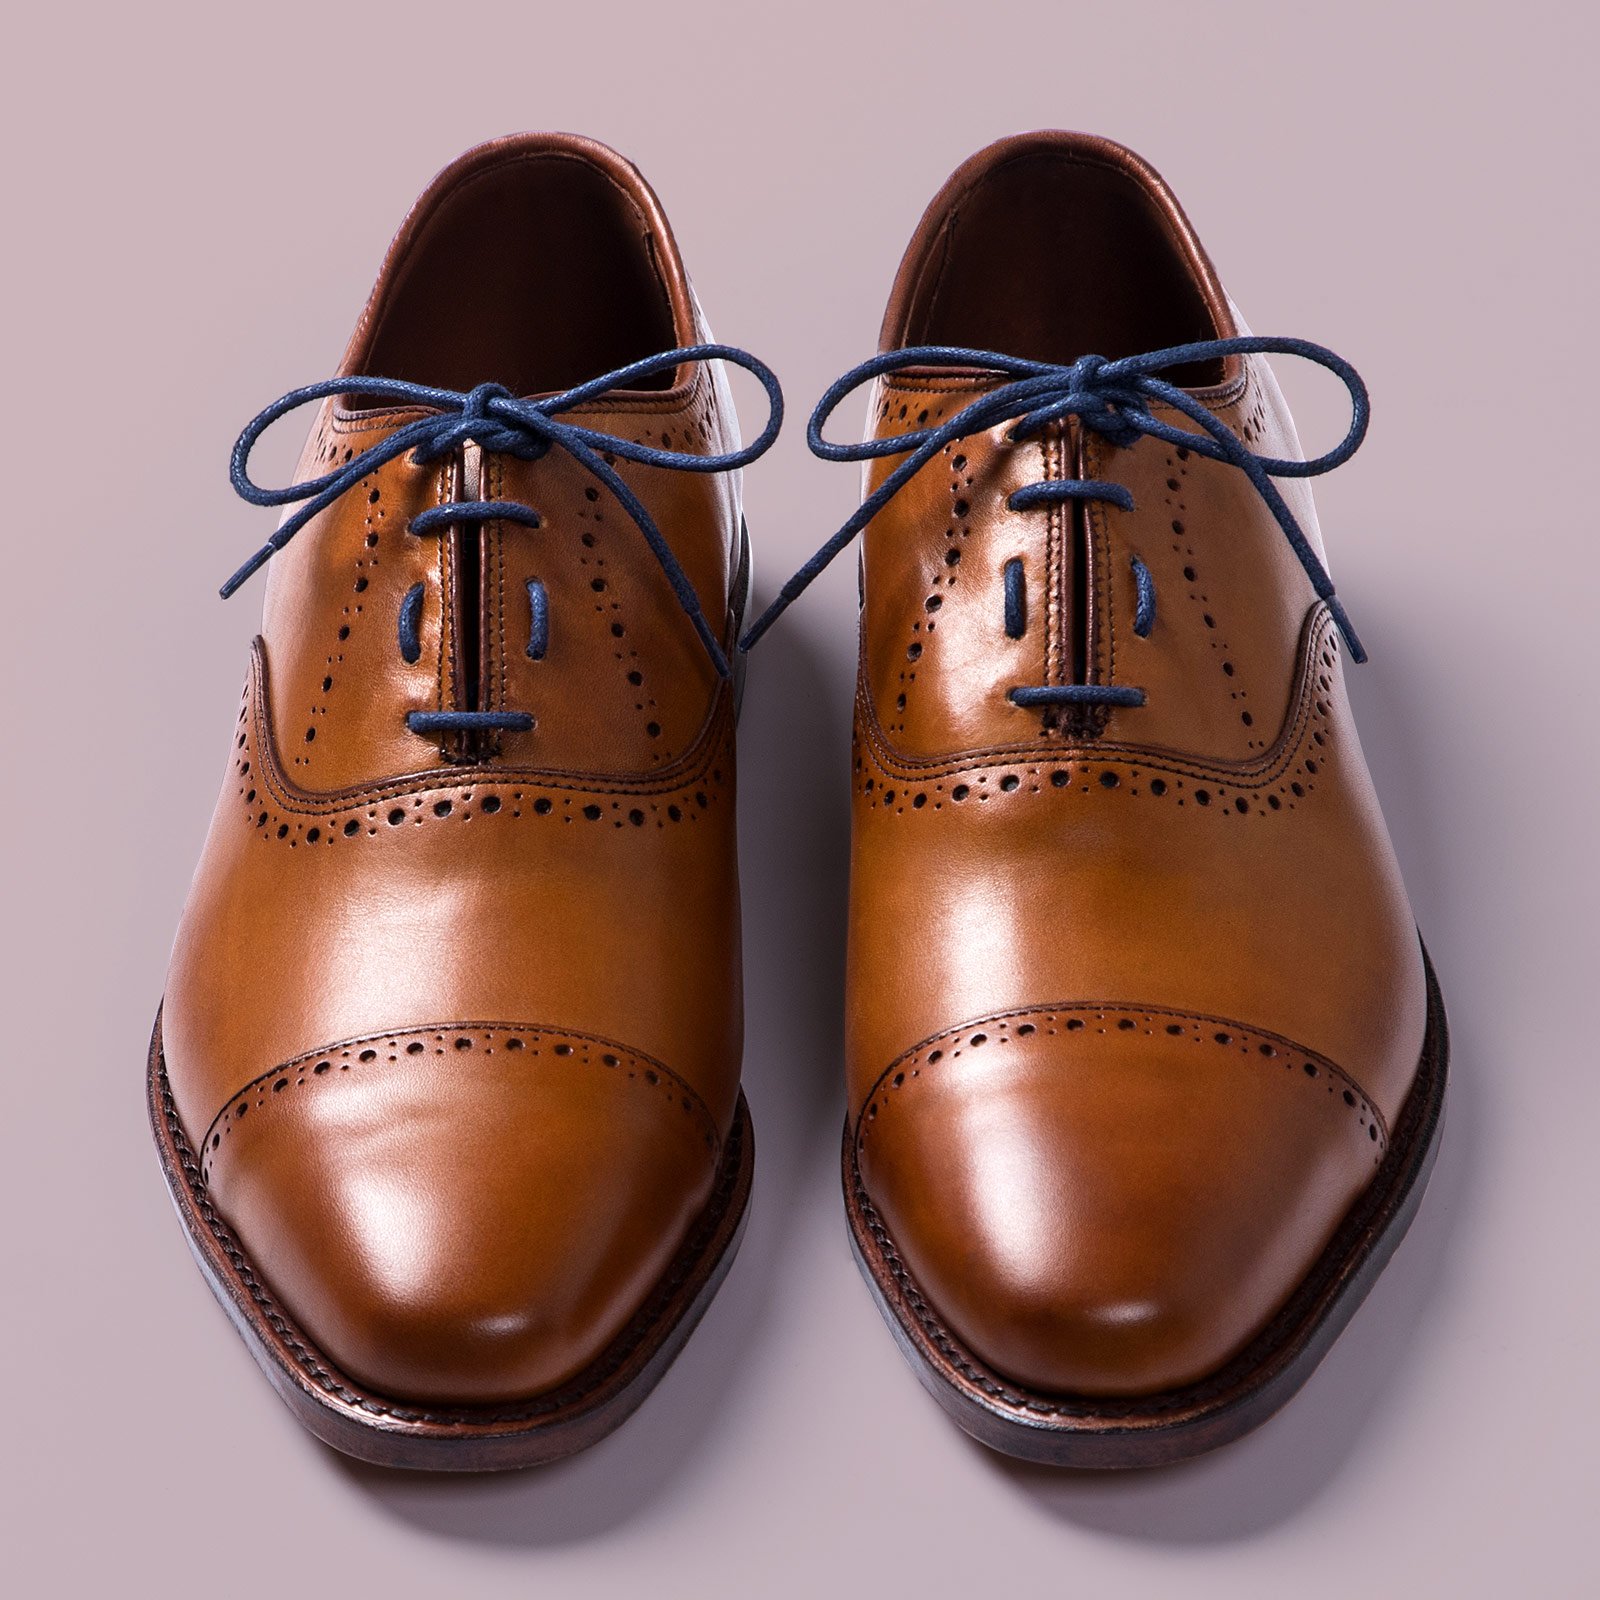
Over Under Instructions

  1. 1. With the toe facing you, slip your shoelace through the bottom eyelet pair. The shoelace should go over the facing to create a straight bar.
  2. 2. Take the left shoelace and thread it through the right eyelet and take the right shoelace and thread it through the left eyelet. It should lace behind the facing and remain unseen.
  3. 3. Take the left shoelace and lace it through the right eyelet and and take the right shoelace and lace it through the left eyelet. Lace it so that the lace goes from the outside of the facing towards the tongue. After this step, you should have formed your first ‘X’ shape.
  4. 4. Repeat steps two and three until you have one remaining set of eyelets.
  5. 4. Thread the shoelaces through the top set of eyelets below the facing.

  6. NOTE: If you have an odd number of eyelet pairs, begin by lacing the shoelace under the facing of the shoe. You’ll begin at Step 3 to create an X-shape as your first step.

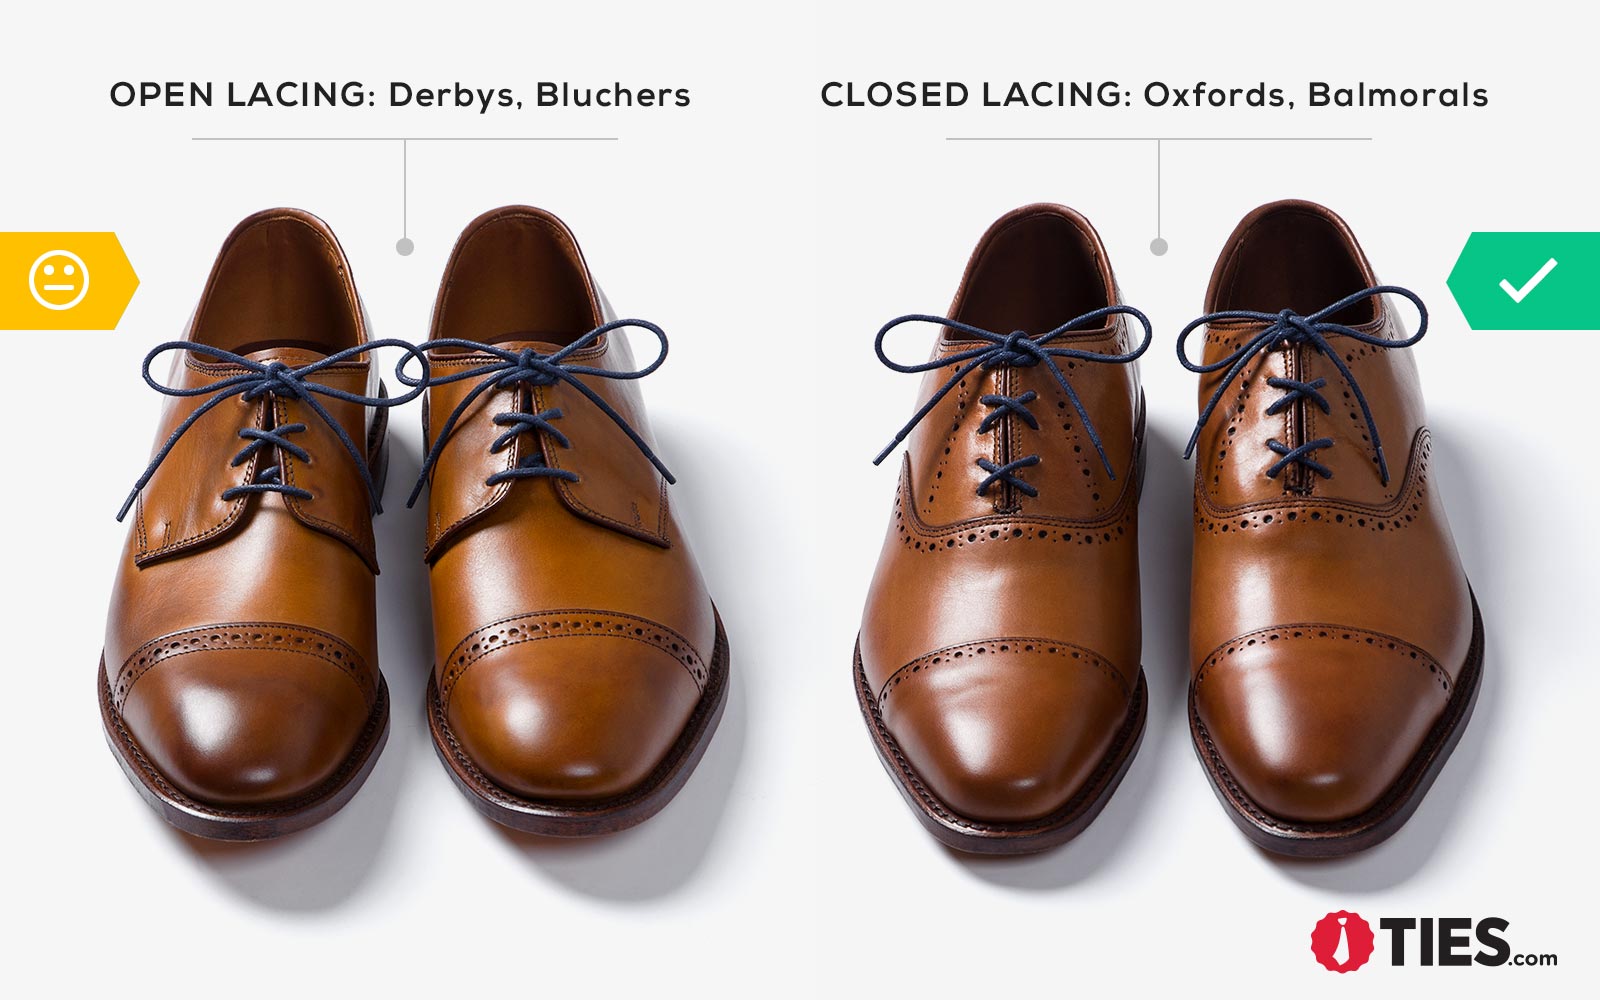
Open Lacing vs. Closed Lacing

Open vs Closed Lacing
Our Best Kept Secret
Get access to secret subscriber-only
discounts when you join our newsletter.
Instant Access