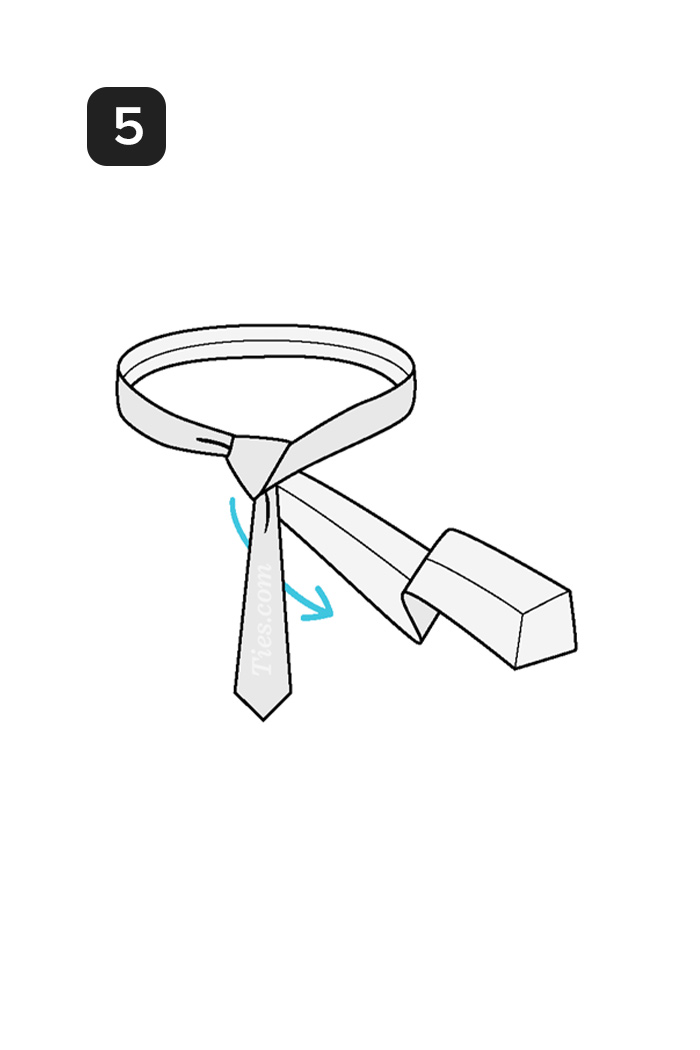
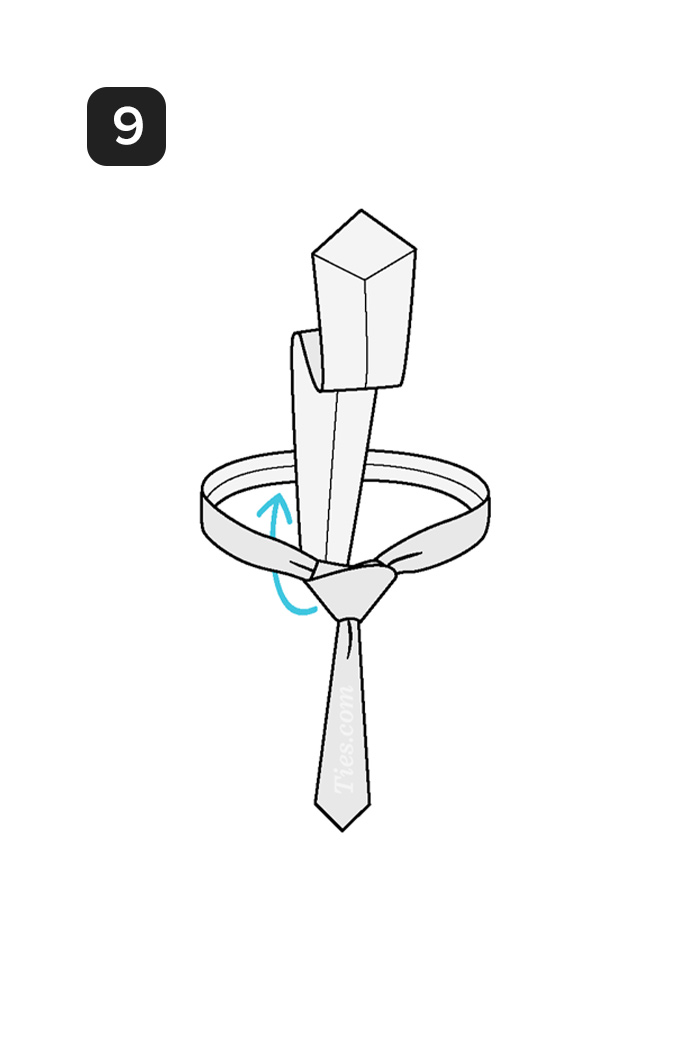
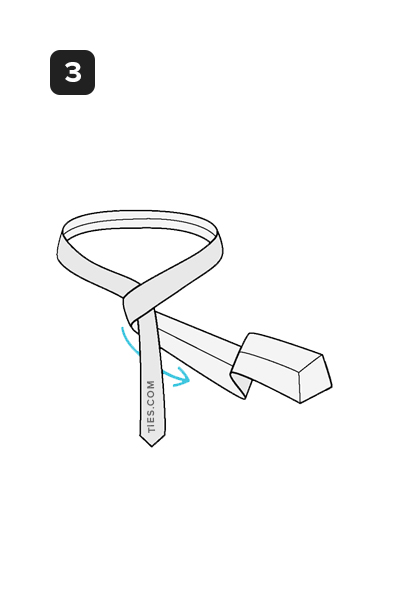
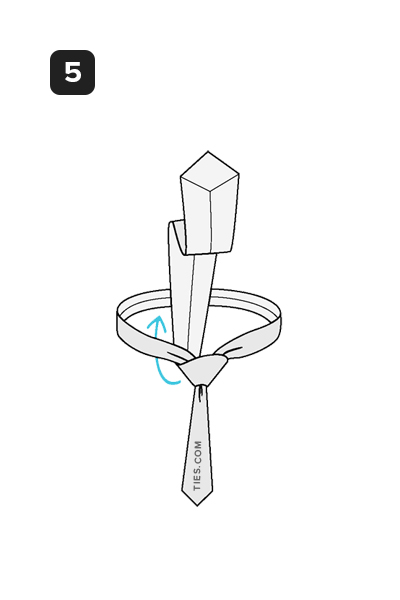
4" />

STEP 4

Down to the left.
Step 5

STEP 5

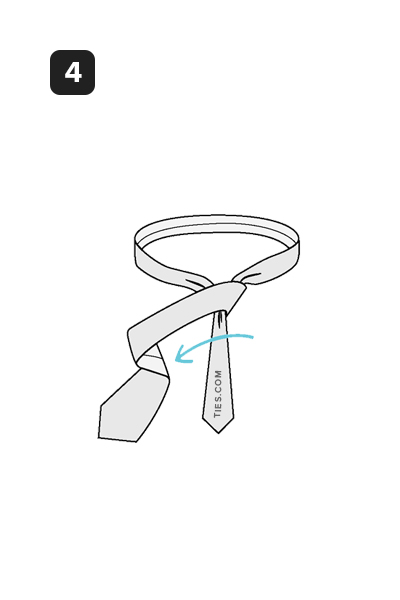
Around the back of the small end to the right.
Step 6

STEP 6

Up to the center, towards neck loop.
Step 7

STEP 7

Through the neck loop and down to the right.
Step 8

STEP 8

Across the front to the left.
Step 9

STEP 9

Up into the neck loop from underneath.
Step 10

STEP 10

Pull it down through the loop you've just created in the front.
Step 11

STEP 11

Tighten the knot by pulling down on the wide end. Slide the knot up & adjust.

Explore More Knots

More Knots
How To Tie A Four-in-Hand Knot | Ties.com
Close
Free Shipping & Easy Returns on U.S. orders over $65* Learn More
More Knots

How to Tie the Four-in-Hand Knot

About the Four-In-Hand Knot

Named after a 19th Century Gentleman's Club of the same name, the Four-in-Hand is the reigning champion of necktie knots. Its popularity stems from its simplicity and versatility. It is easy to tie, slender, tapered, mildly asymmetrical and self-releasing. If you only learn one knot, make it the Four-in-Hand.
KNOT SIZE 2/5
SYMMETRY 3/5
DIFFICULTY 1/5
SELF-RELEASING

The Four-in-Hand Knot Tying Instructions

Step 1 Step 2 Step 3

Four-in-Hand Knot Step-by-Step Guide

Step 1

STEP 1

Start with the wide end of the tie on the right and the small end on the left. Begin with the small end slightly above your belly-button (will vary depending on your height and the length & thickness of your tie). Only move the active (wide) end.
Step 2

STEP 2

Wide end over the small end to the left
Step 3

STEP 3

Under the small end and to the right
Step 4

STEP 4

Across the front and to the left
Step 5

STEP 5

Up into the neck loop from underneath
Step 6

STEP 6

Down through the loop you've just made in the front
Step 7

STEP 7

Tighten the knot by pulling down on the wide end. Slide the knot up & adjust.
Our Best Kept Secret
Get access to secret subscriber-only
discounts when you join our newsletter.
Instant Access