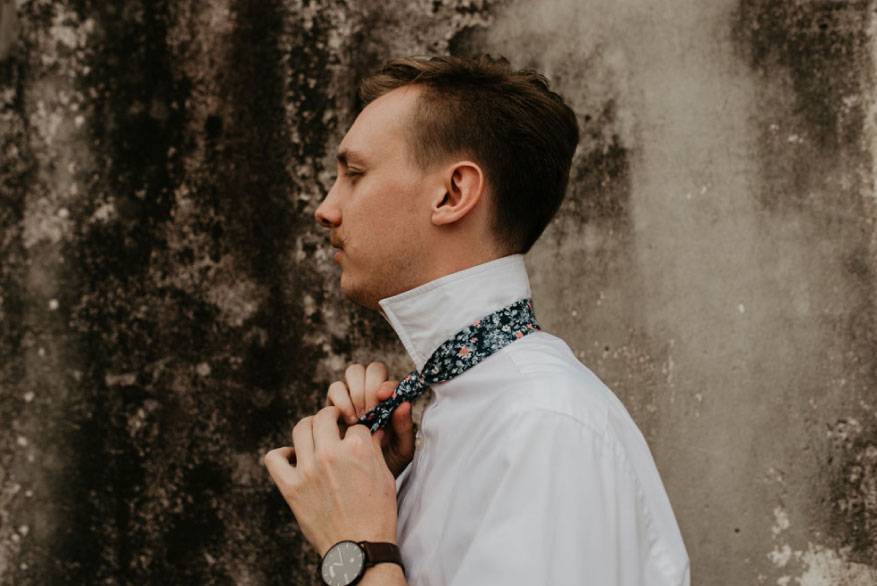
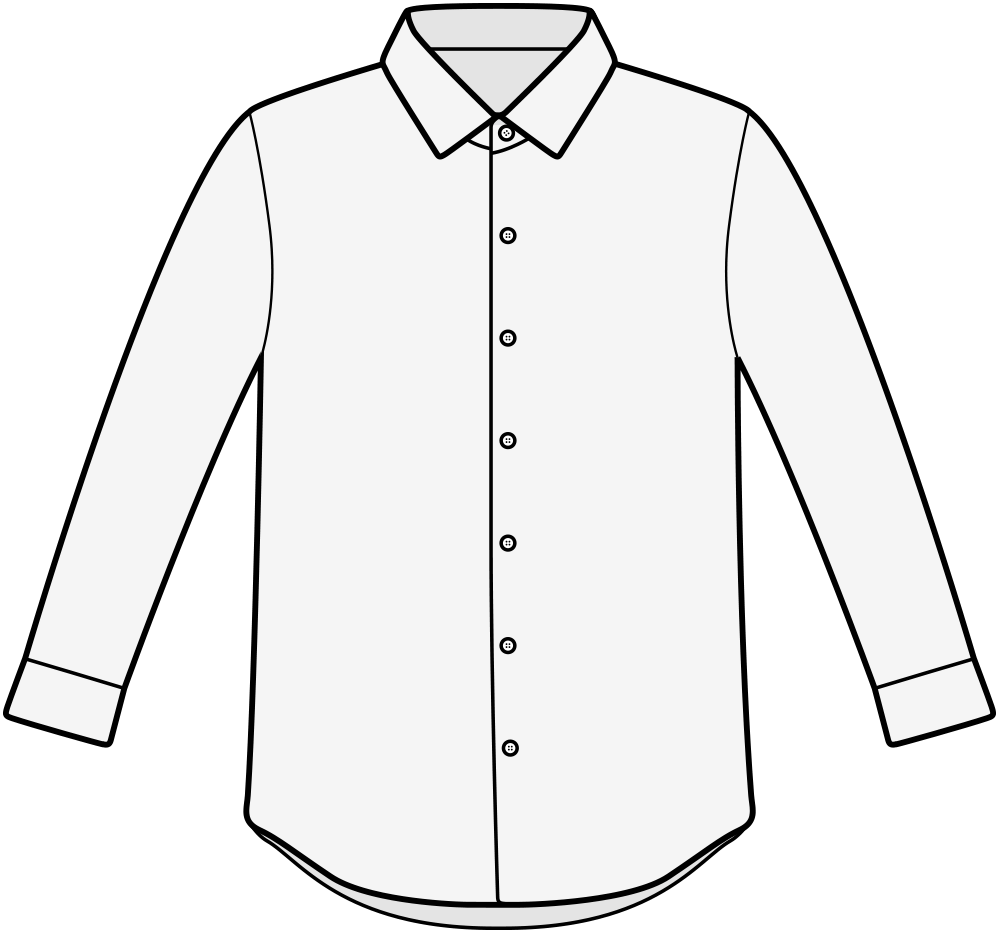
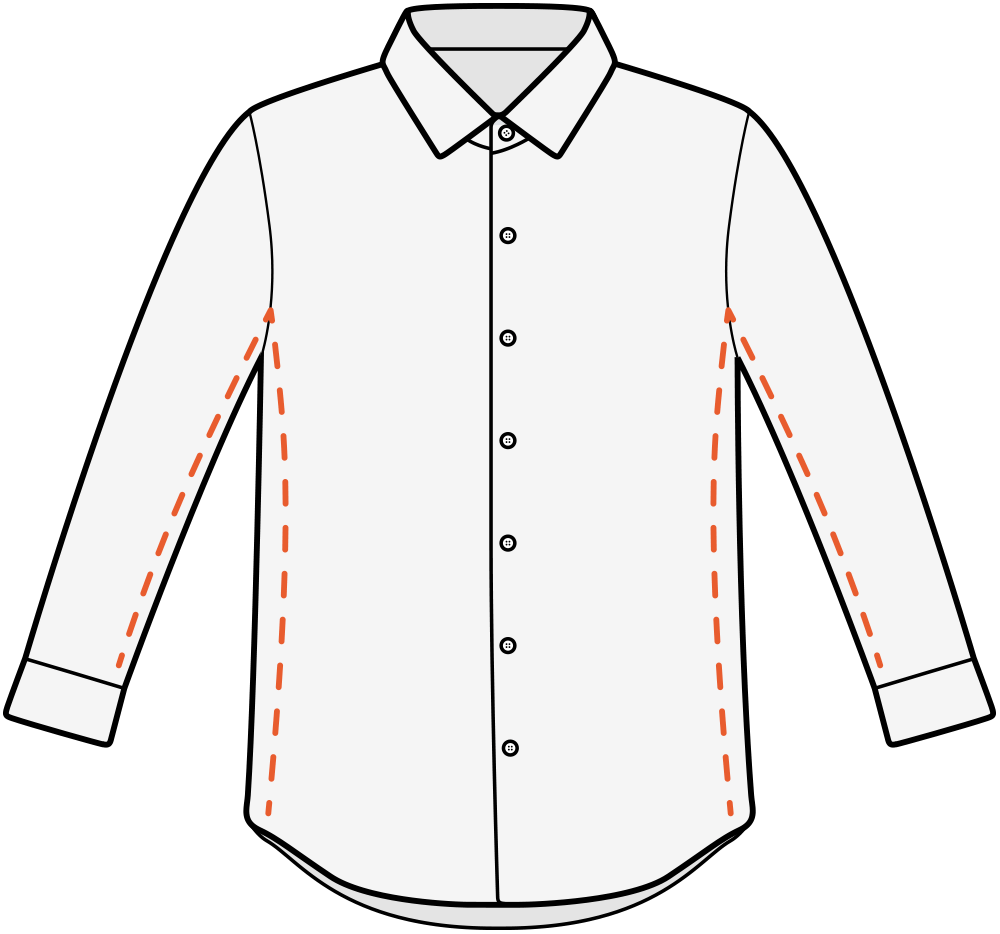
That shirt you love so much you’d shamelessly pull it out of the hamper? Well, this is it. Available in three colors, the Lucas is a classic chambray with a twist: the shirt’s inside is slightly brushed for an incredibly soft feel. It’s your clean little secret, and the shirt only gets softer each time you wash it. Lucas is set to become your tried and true wardrobe staple.
Lucas’s Features:
Clean finished flat felled seams
Double layer back yoke
Reinforced side seam gusset
Protip: Our casual shirts are the shortest of all our shirts, best worn untucked. The button-down collars can accommodate a tie, or not-- we give options, because you love your freedom.
Although the Duke of Windsor never specifically used the Windsor knot, he did favor a wide triangular knot. In actuality,
the Duke achieved his trendsetting look by tying a Four-in-Hand with specially made wide and extra thick ties. The Windsor
knot was invented by the public as a way to imitate the Duke's knot style. There are several derivatives of the Windsor
that are all referred to by the same name. The Windsor delivers a symmetrical and solid triangular knot that works best
with a spread collar.
This knot is also mistakenly referred to as the “Double Windsor” knot.
KNOT SIZE
4/5
SYMMETRY
5/5
DIFFICULTY
2/5
SELF-RELEASING
The Windsor Knot Tying Instructions
Windsor Knot Step-by-Step Guide
STEP 1
Start with the wide end of the tie on the right and the small end on the left. The tip of the small end should
rest slightly above your belly-button (this will vary depending on your height and the length & thickness of your
tie). Only move the active (wide) end.
STEP 2
Wide end over the small end to the left.
STEP 3
Up into the neck loop from underneath.
STEP 4
Down to the left.
STEP 5
Around the back of the small end to the right.
STEP 6
Up to the center, towards neck loop.
STEP 7
Through the neck loop and down to the right.
STEP 8
Across the front to the left.
STEP 9
Up into the neck loop from underneath.
STEP 10
Down through the loop you've just created in the front.
STEP 11
Tighten the knot by pulling down on the wide end. Slide the knot up & adjust.