


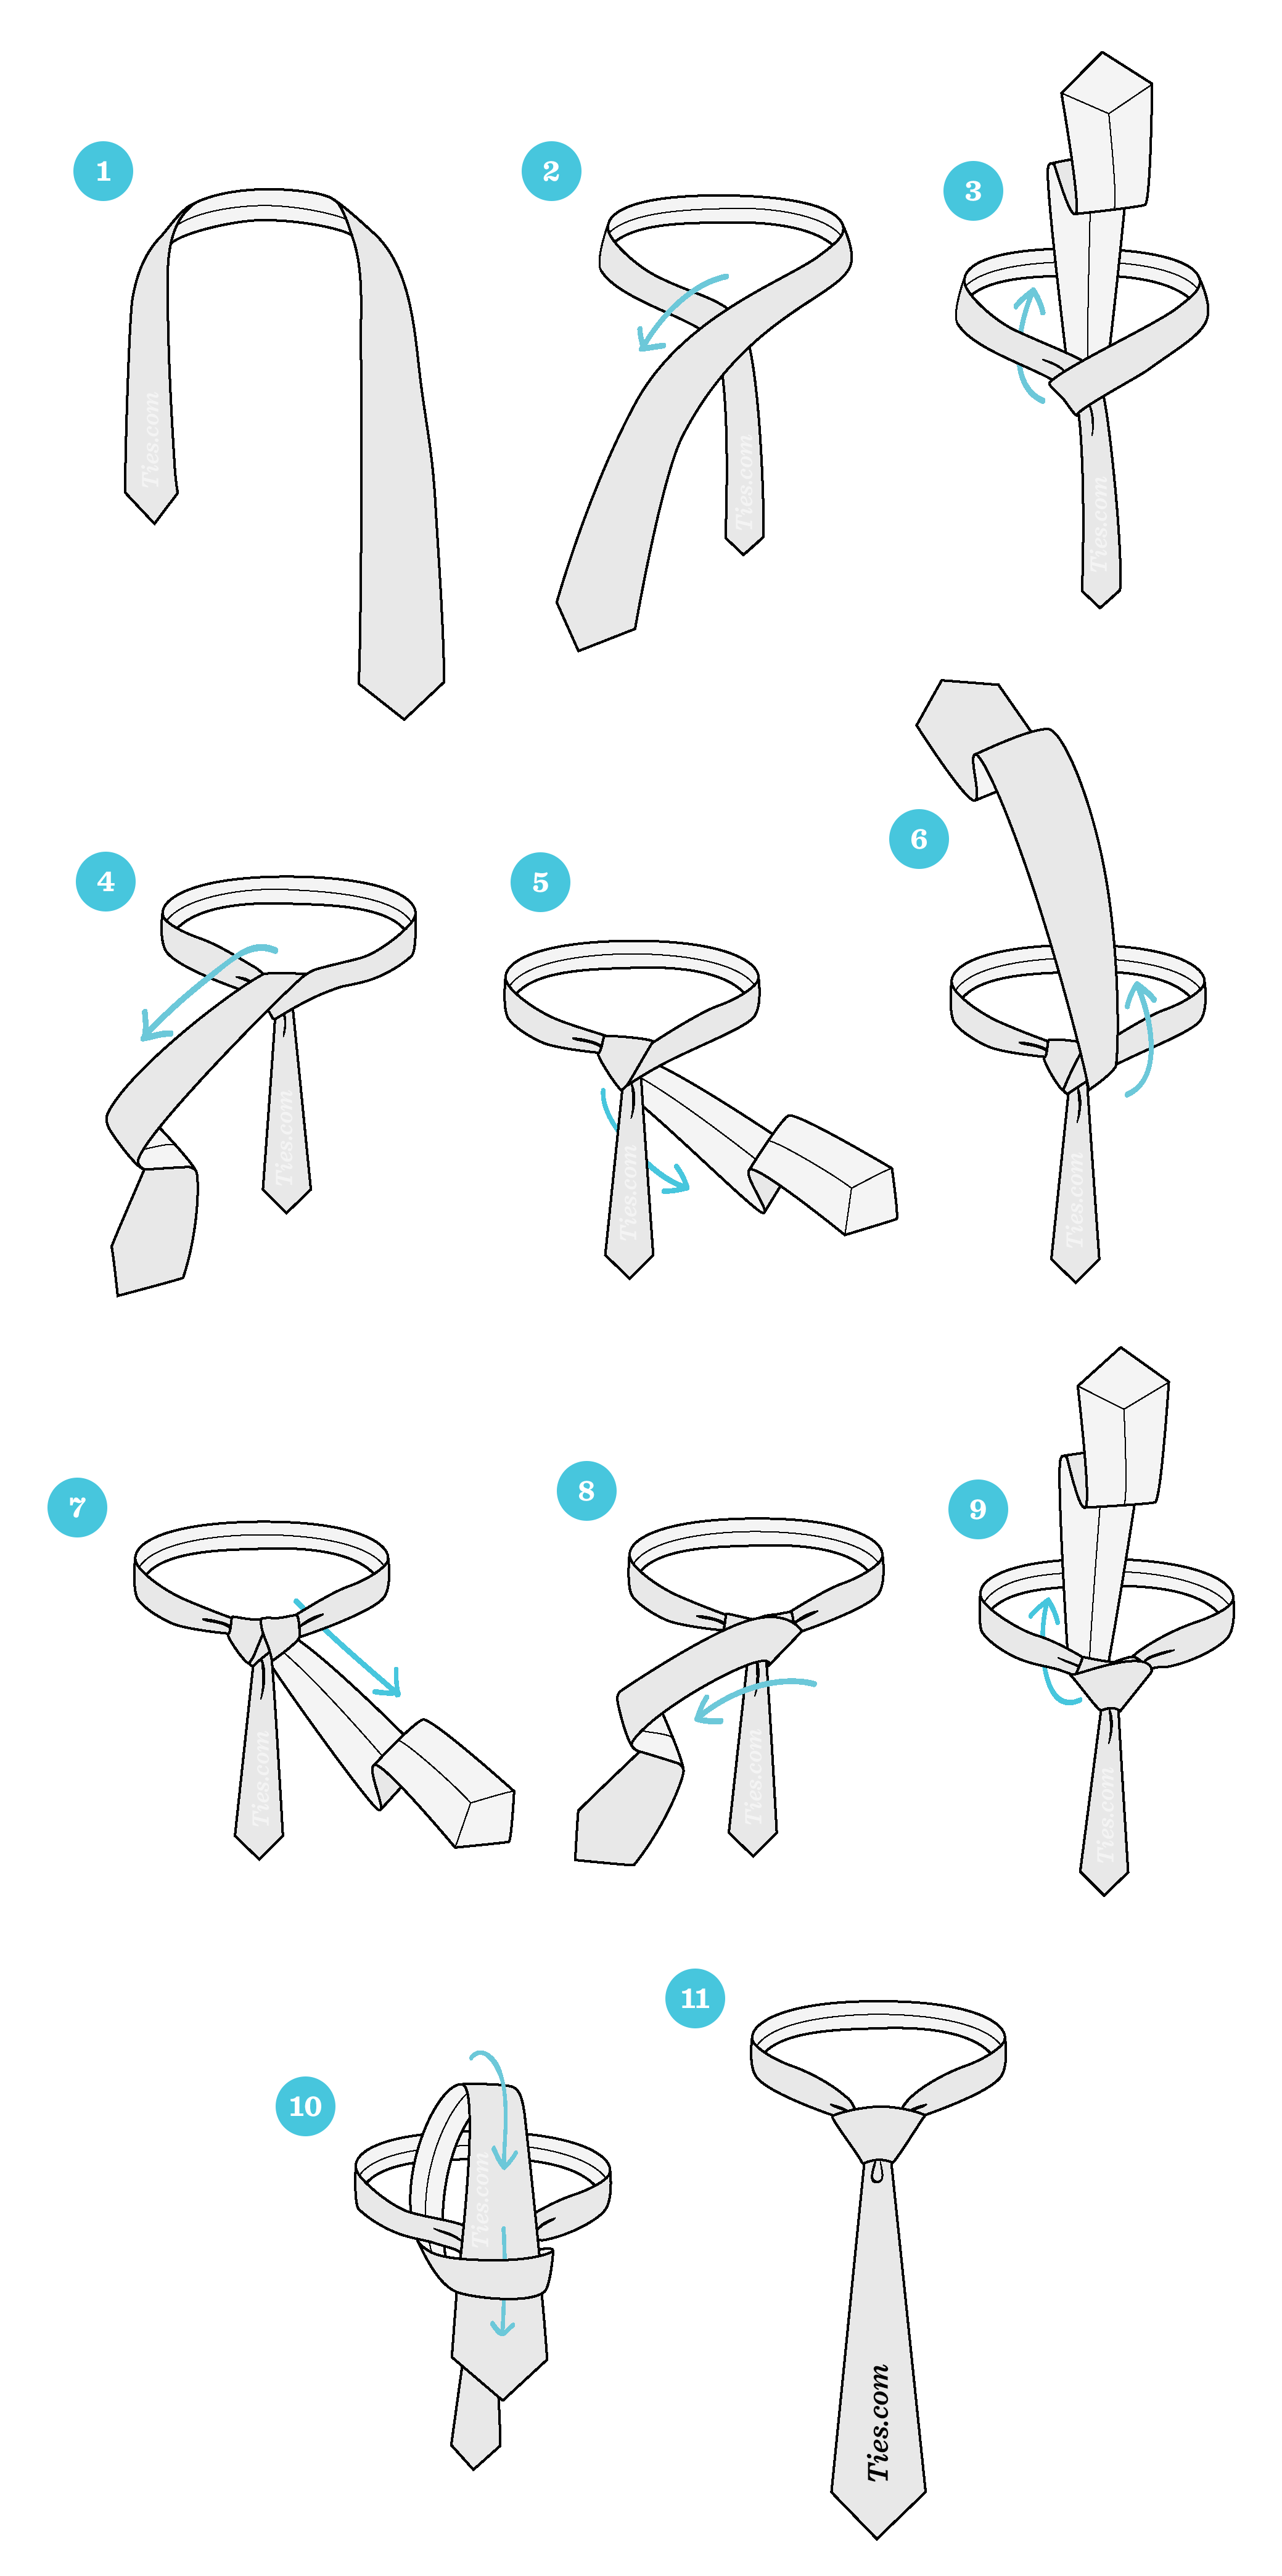
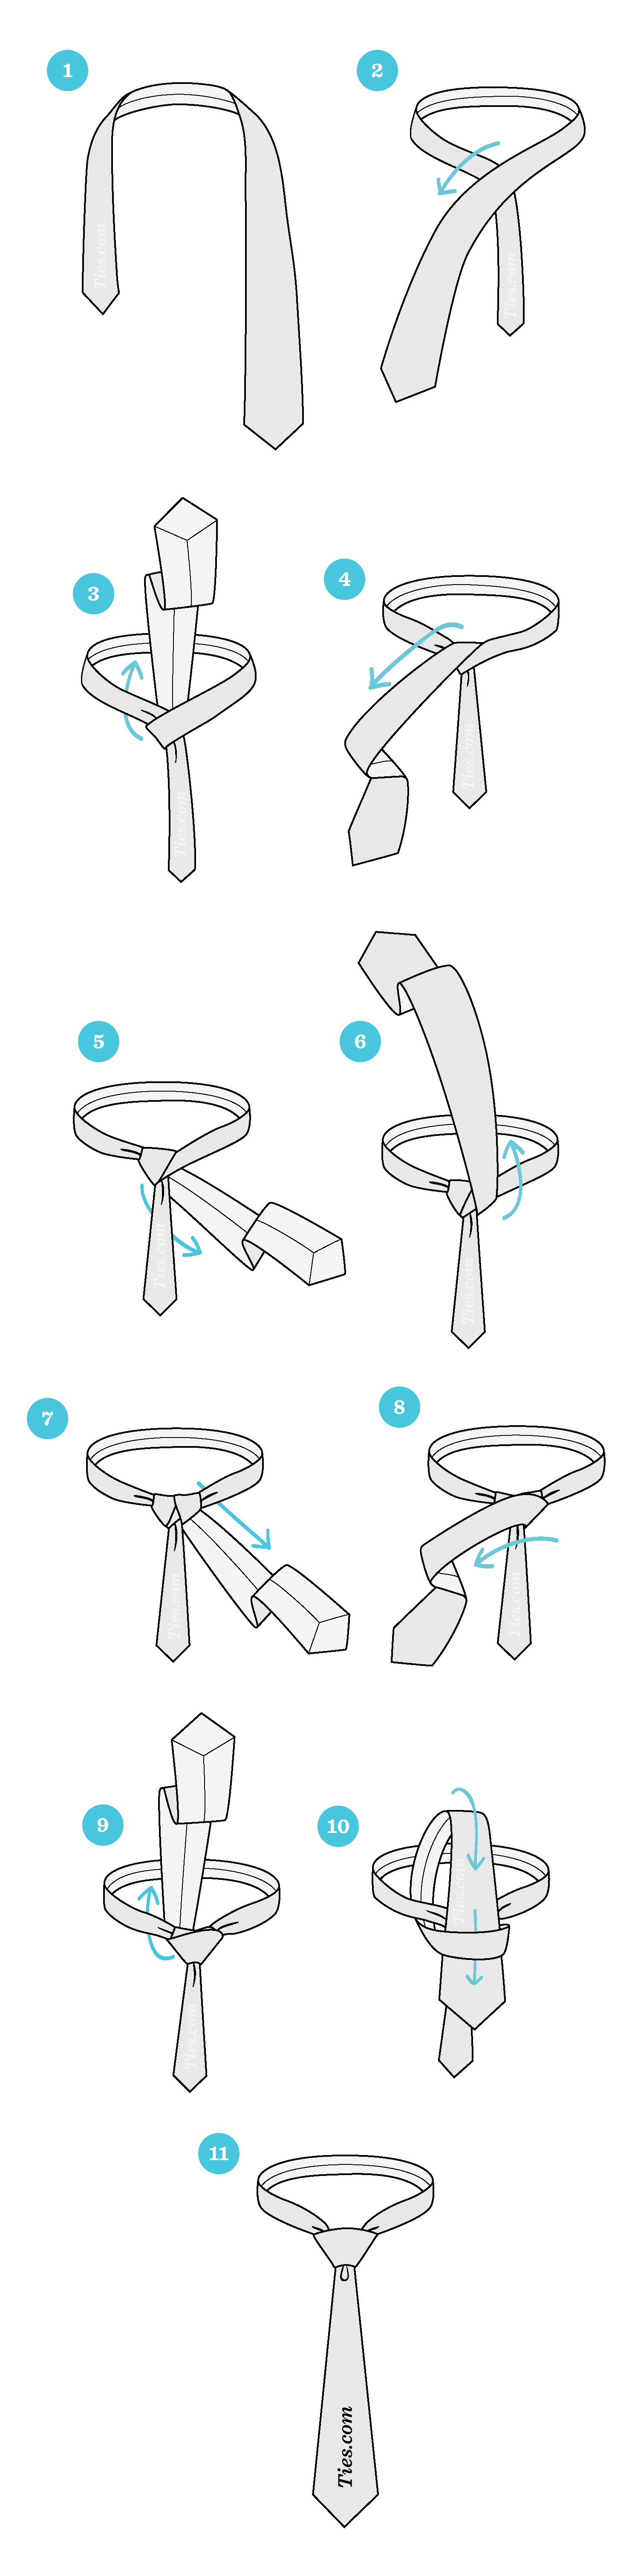
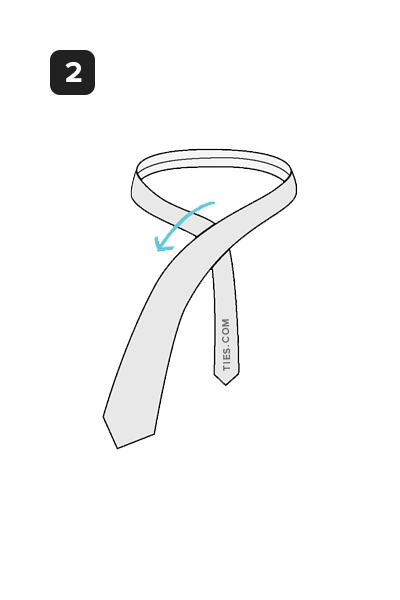
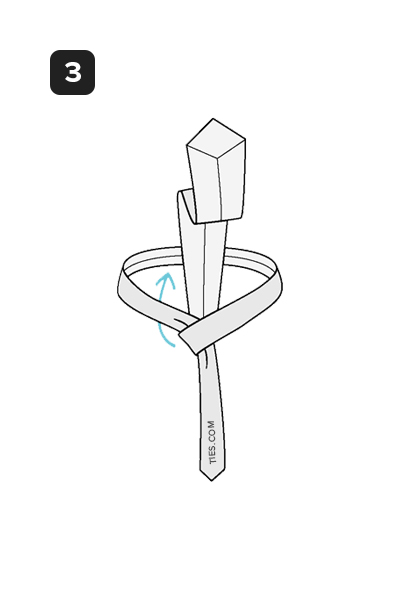
https://www.ties.com/primg/black-silk-black-and-silver-stripe-tie-220897-505-1280-0.jpgHipster Socks
-
 Holiday Socks
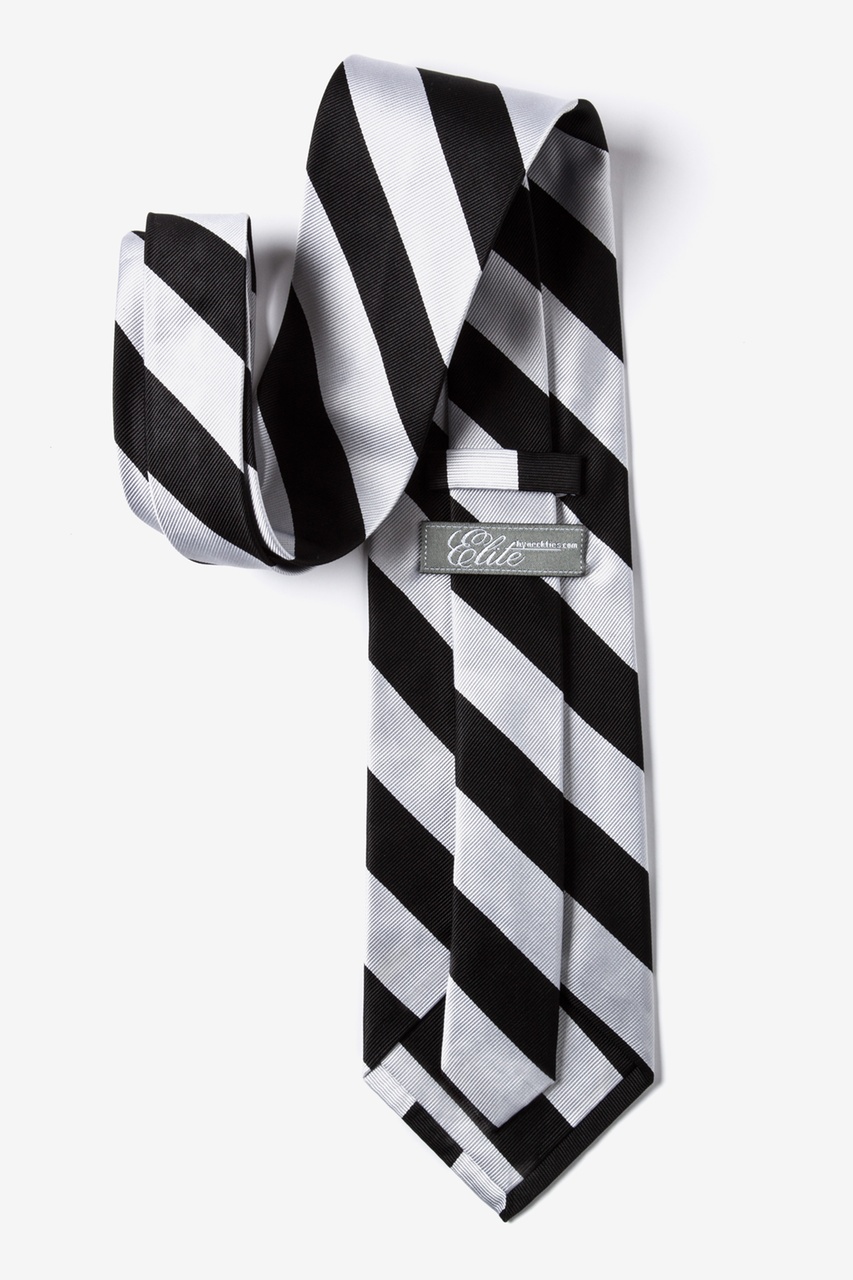
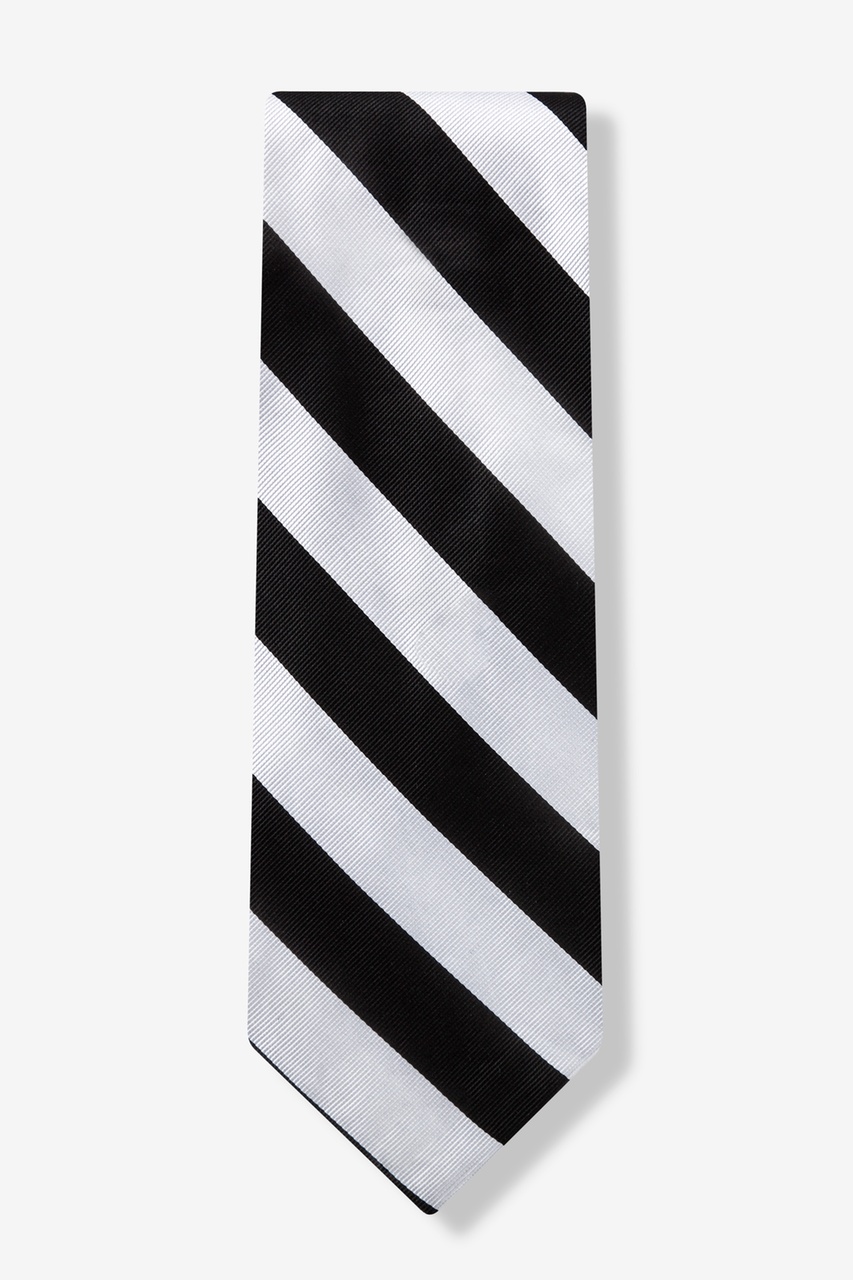
7-505-1280-0.jpg" class="main-img" alt="Black and Silver Stripe Tie Photo (/socks/patriotic-socks">0)" title="Black and Silve
" data-index="
- NECKTIES
- SKINNY TIES
-
NOVELTY TIES

- EXTRA LONG TIES
- BOYS TIES
- BOW TIES
-
SOCKS
- SHIRTS
- TIE BARS
- TIE RACKS
- POCKET SQUARES
-
MORE ACCESSORIES
- WEDDING SHOP
- GUAPBOX
- ON SALE
- NEW ARRIVALS
- GIFT CERTIFICATES

 Shop All Shirts


 New Arrivals
 label.svg" alt="Men's Scarves
 Imported" title="Imported" />


